Advanced Billing’s HTML email editor allows you to customize the emails that are delivered to your subscribers. This provides the opportunity to brand the messages that are sent out on your behalf to your customers based on Advanced Billing events.
We currently support the following emails in the HTML Email Editor:
- Signup
- Receipt
- Card Expiration
- End of Trial
- Upcoming Renewal
- Dunning emails
What is needed?
To properly stylize branded emails you will need a good understanding of HTML. We also now support Markdown in the email body to provide an easy mechanism for producing nice looking content (HTML is supported as well).
Terminology
-
Layout: Refers to the container for the email that will be sent. This is where you will define your CSS styles and produce the structure of your emails.
-
Template: This is the body of the email that will be sent out. This has the main content of the email and there is one per event that is described above. You can set the Layout, From, and Subject.
Note: All existing emails will continue to send as they did until you use the new HTML email editor.
Create Template

-
Visit the settings configuration panel in your Advanced Billing account
-
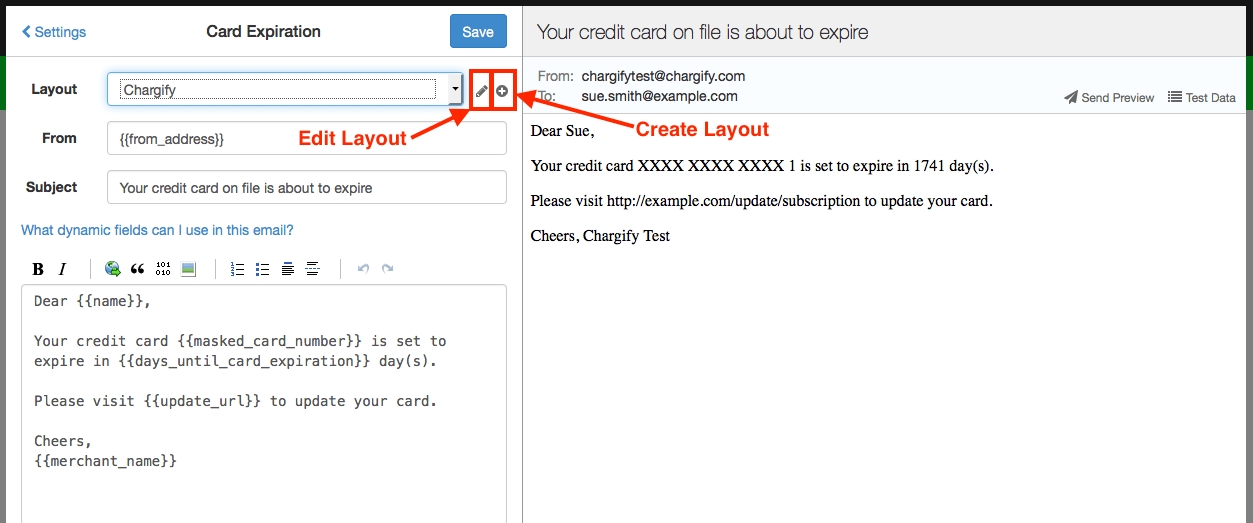
Create a new layout by clicking on the + sign next to the layout drop-down.
-
Define your layout in the editor with desired HTML layout. You will notice that there is a tag
“”this is required it is where the template will be rendered. The layout will live update as you are editing so it gives you a way of previewing it (after it is saved the first time). -
Save the layout and now you should be able to use it for your templates. To get back to editing the Template click on the
< Emaillink in the top left-hand corner of the editor. -
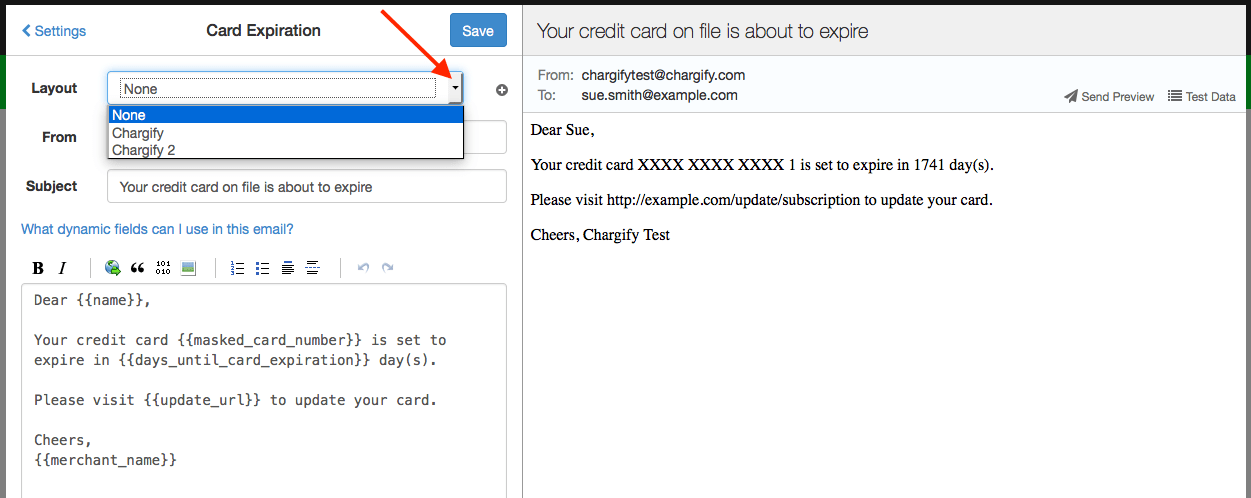
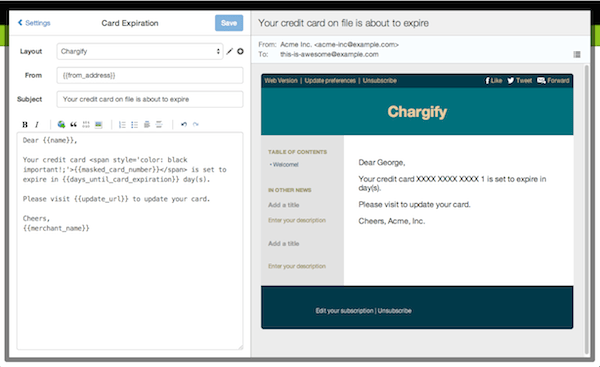
Select the layout from the layouts drop-down and click the “Save” button. You should now see your template rendered inside of your layout.
Note: If you don’t like the look of the layout you may edit it at any time by selecting it from the layouts drop-down and clicking the pencil icon.
Required Layout Modifications
The validator we use requires strict XML format, instead of HTML. For all valid HTML files, certain modifications are required for the email template to accept the formatting:
- Close the img tags as
<img …/> - Close the br tags as
<br /> - Remove the CSS comments, or use HTML comment syntax as
<!— abc —> - In addition, a Layout must contain the Liquid tag to allow the contents of the template to be inserted.
Note: If you are receiving the alert HTML is invalid. Missing a closing tag? Error at line: 247 position: 5879, please DO NOT use <br>. Use <br /> in its place.
Edit Template

- Now it is time to edit your template this is the same as it always has been with the support of liquid fields (more info here). While editing templates if you wait for a second or two after you stop typing you notice that the preview pane on the right-hand side will update.
- This will not apply to emails that are being sent until you click “Save”.
Preview Emails & Test Data
We have also added a mechanism for previewing and changing example fields for the emails so that you can define your conditions and preview what it will look like before you send it.
For more information, please view our overview on test emails and preview data.
