When linking to the Public Page, it is possible to have certain values pre-populated by passing parameters as GET requests.
Parameters
first_name: Fills the value for the customer’s “First Name” (Fills value for both Shipping/Contact info and Billing info, unless billing_first_name is provided)last_name: Fills the value for the customer’s “Last Name” (Fills value for both Shipping/Contact info and Billing info, unless billing_first_name is provided)billing_first_name: Fills the value for the Billing Address’s “First Name” field (Overrides value provided by first_name, if any)-
billing_last_name: Fills the value for the Billing Address’s “Last Name” field (Overrides value provided by last_name, if any) email: Fills the value for the customer’s “Email Address”reference: Sets a hidden field to supply a value for the customer’s “Reference” value (the unique identifier you use for the customer within your own application)locale: Sets a hidden field to supply a value for the customer’s “Language Settings” (see Multi-Lingual Invoices for more details)organization: Fills the value for the customer’s “Organization”-
phone: Fills the value for the customer’s “Phone” address: Fills the value for the customer’s “Shipping Address 1”address_2: Fills the value for the customer’s “Shipping Address 2”city: Fills the value for the customer’s “Shipping City”state: Fills the value for the customer’s “Shipping State”country: Fills the value for the customer’s “Shipping Country”zip: Fills the value for customer’s “Shipping ZIP Code”
Note that the “Shipping Country” will be auto-filled based on the customer’s location. If you attempt to pre-populate a state that does not exist in that country, it will not work. It is also a requirement to both the corresponding city as well. We recommend that you always supply a country in addition to the state and city.
billing_address: Fills the value for the cardholder’s “Billing Address 1”billing_address_2: Fills the value for the cardholder’s “Billing Address 2”billing_city: Fills the value for the Billing “City”billing_state: Fills the value for the cardholder’s “Billing State” (if state is supplied, matching country is required)billing_country: Fills the value for the cardholder’s “Billing Country”billing_zip: Fills the value for the cardholder’s “Billing ZIP Code”coupon_code: Fills the value for the coupon code to use with the subscription.
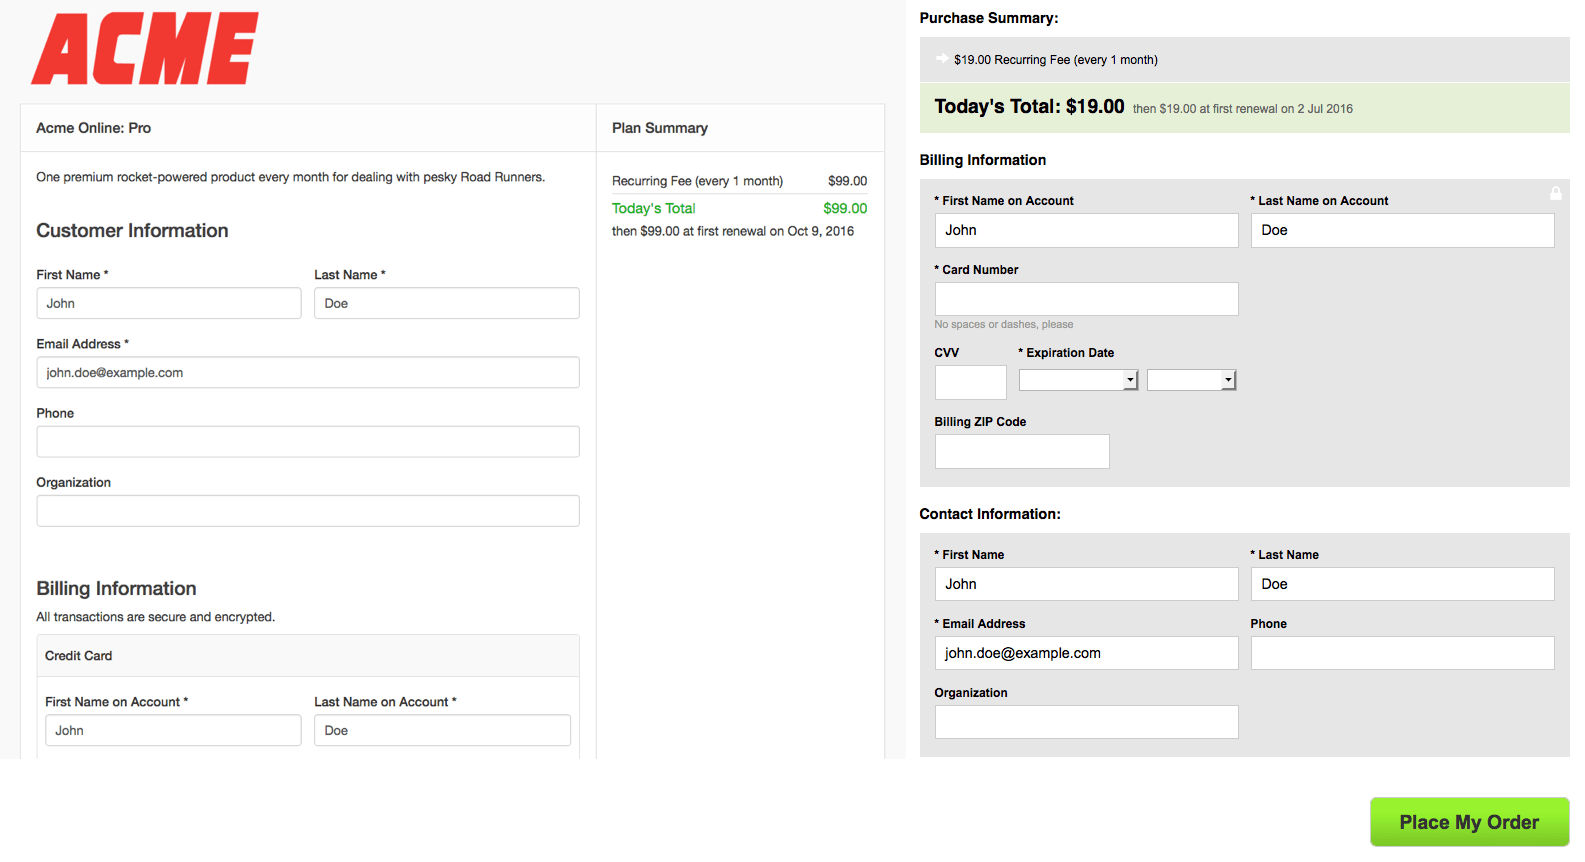
For example, accessing a Public Signup Page URL with the following query string would generate the form pre-populated as shown below:
?first_name=John&last_name=Doe&email=john.doe@example.com&reference=1234

Referral Code
Note: ref can be included in the parameters to specify a referral code. See Referrals Reference for more details.
For a description of how these attributes apply to the created customer and payment profile, please refer to the “Subscription Input Attributes” section of the Subscriptions API documentation.
Special Characters
Please use the table below as a quick reference for common percent encoding equivalents.
| Special Character | Encoding |
| ! | %21 |
| # | %23 |
| $ | %24 |
| % | %25 |
| & | %26 |
| ’ | %27 |
| ( | %28 |
| ) | %29 |
| * | %2A |
| + | %2B |
| , | %2C |
| / | %2F |
| : | %3A |
| ; | %3B |
| = | %3D |
| ? | %3F |
| @ | %40 |
| [ | %5B |
| ] | %5D |
Thus, a coupon code of @20%OFF would be sent in as %4020%25OFF.
Pre-Populating Components
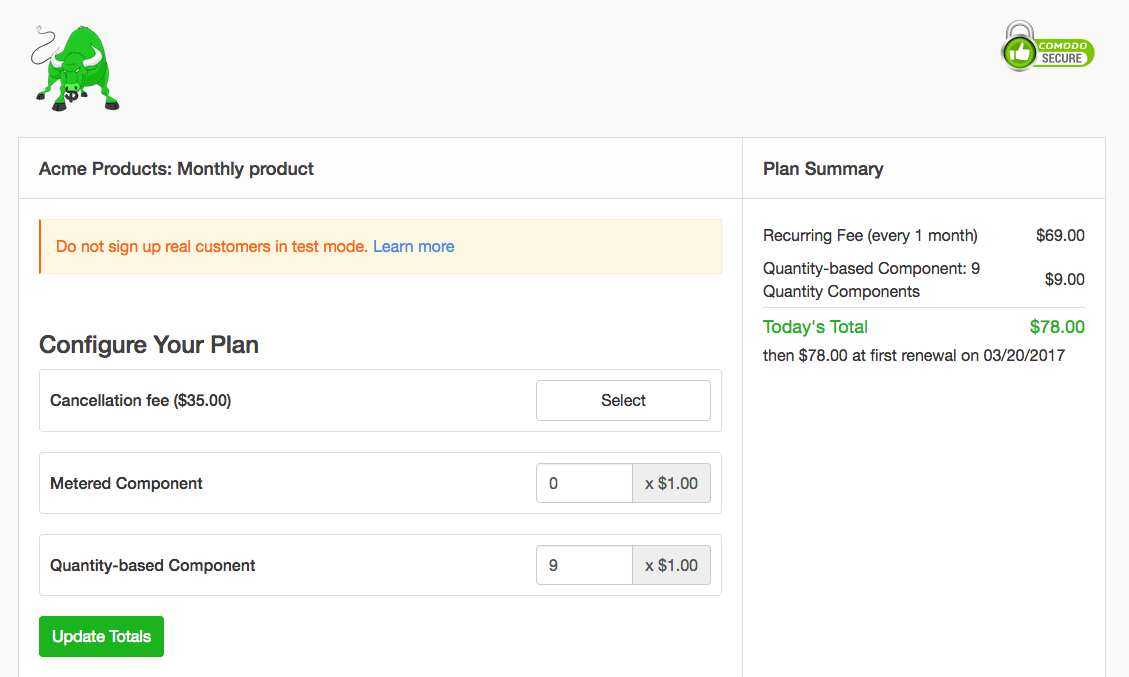
Components can be pre-populated by passing in the numeric component id (visible in your components list) and desired quantity.
Please note that the order of the parameters matters to properly set the quantity for each component.
https://general-goods.chargifypay.com/subscribe/5x8sbq29vgkn/monthly-product?components[392132][allocated_quantity]=100&?components[386936][unit_balance]=11000?components[392128][allocated_quantity]=1
Quantity-based components
If you wish to pre-populate quantity-based components, please use the following as a guide to help you construct your URL:
?components[392132][allocated_quantity]=100&components[392135][allocated_quantity]=100
Full Example:
https://general-goods.chargifypay.com/subscribe/5x8sbq29vgkn/monthly-product?components[392132][allocated_quantity]=100&components[392135][allocated_quantity]=100

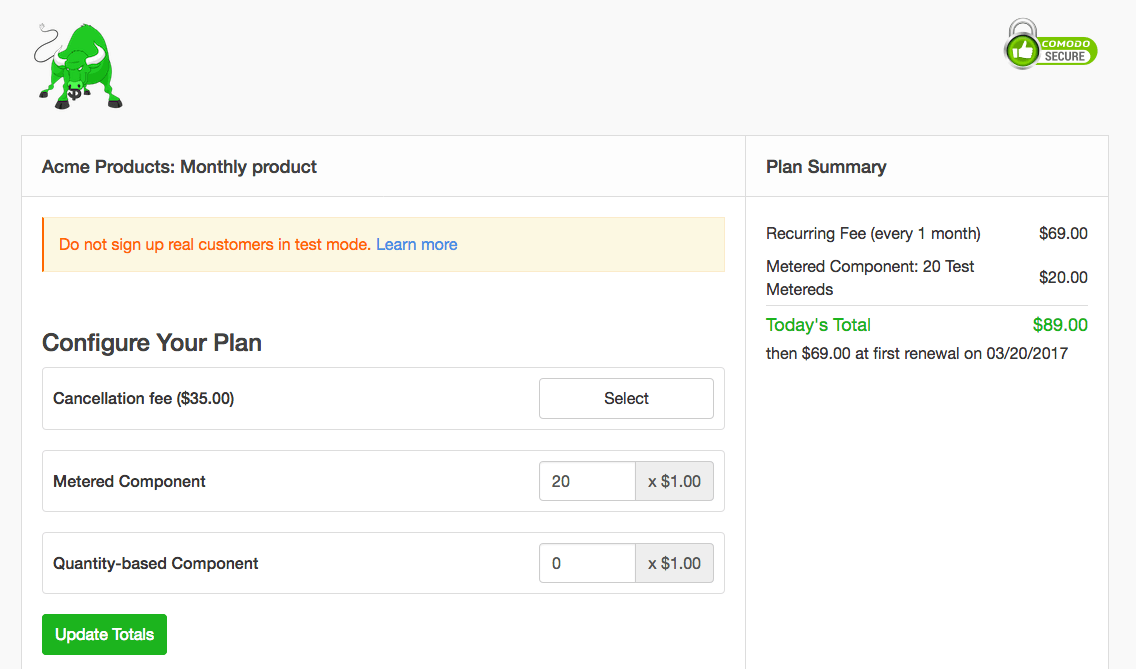
Metered components
If you wish to pre-populate metered components, please use the following as a guide to help you construct your URL:
?components[386936][unit_balance]=11000
Full Example:
https://general-goods.chargifypay.com/subscribe/5x8sbq29vgkn/monthly-product?components[386936][unit_balance]=11000

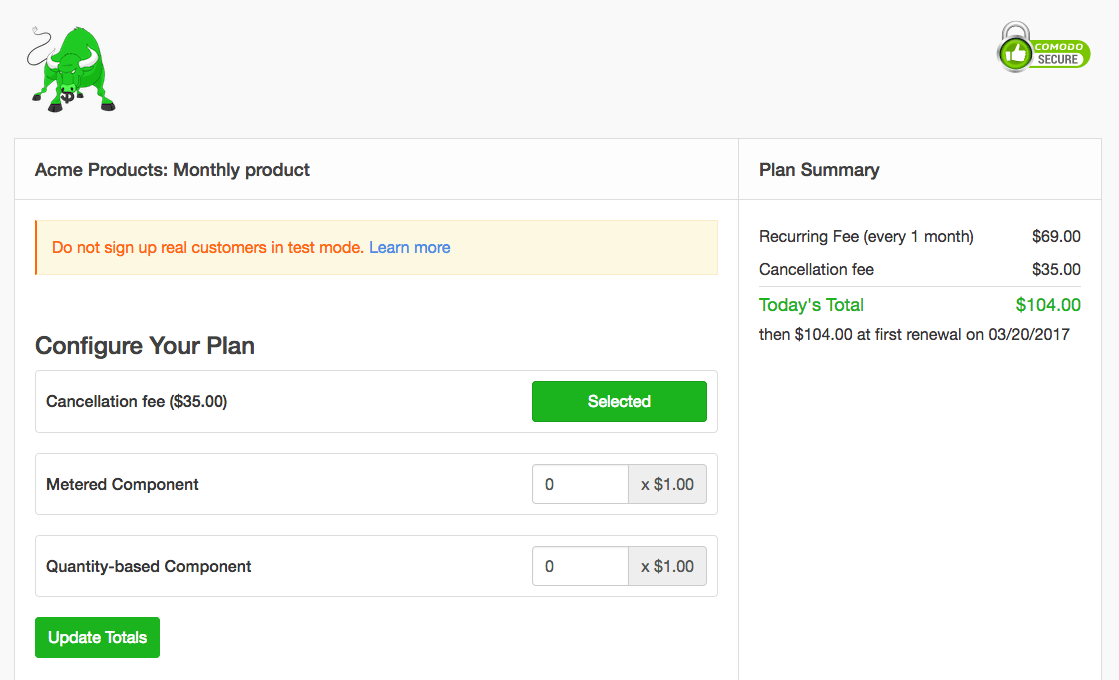
On/Off components
If you wish to pre-populate on/off components, please use the following as a guide to help you construct your URL. Use 1 for “on” and 0 for “off”
?components[392128][allocated_quantity]=1
Full Example:
https://general-goods.chargifypay.com/subscribe/5x8sbq29vgkn/monthly-product?components[392128][allocated_quantity]=1

Billing Dates
Note that the next_billing_at attribute is intentionally not allowed for pre-population. If you need to delay the first charge, you may want configure a trial period for the product, or use Calendar Billing to snap it to a particular day.
Legacy Examples
Previously, Advanced Billing has specified other ways of formulating URLs for prepopulation. Both versions work. However, we felt that the versions above were a simpler way of expressing the desired amounts.
For posterity, we wanted to include the syntax below:
https://general-goods.chargifypay.com/subscribe/5x8sbq29vgkn/monthly-product?components[][component_id]=375250&components[][allocated_quantity]=9&components[][component_id]=375042&components[][unit_balance]=20&components[][component_id]=375117&components[][allocated_quantity]=1
Custom Fields
- At the time of the publication of this documentation, custom fields cannot be pre-populated using the methods described above.
- To pre-populate custom fields in a Public Signup Page, you are required to do this via JavaScript. Please see our Billing Scenarios page that walks you through the steps necessary to display this on your Public Signup Page.