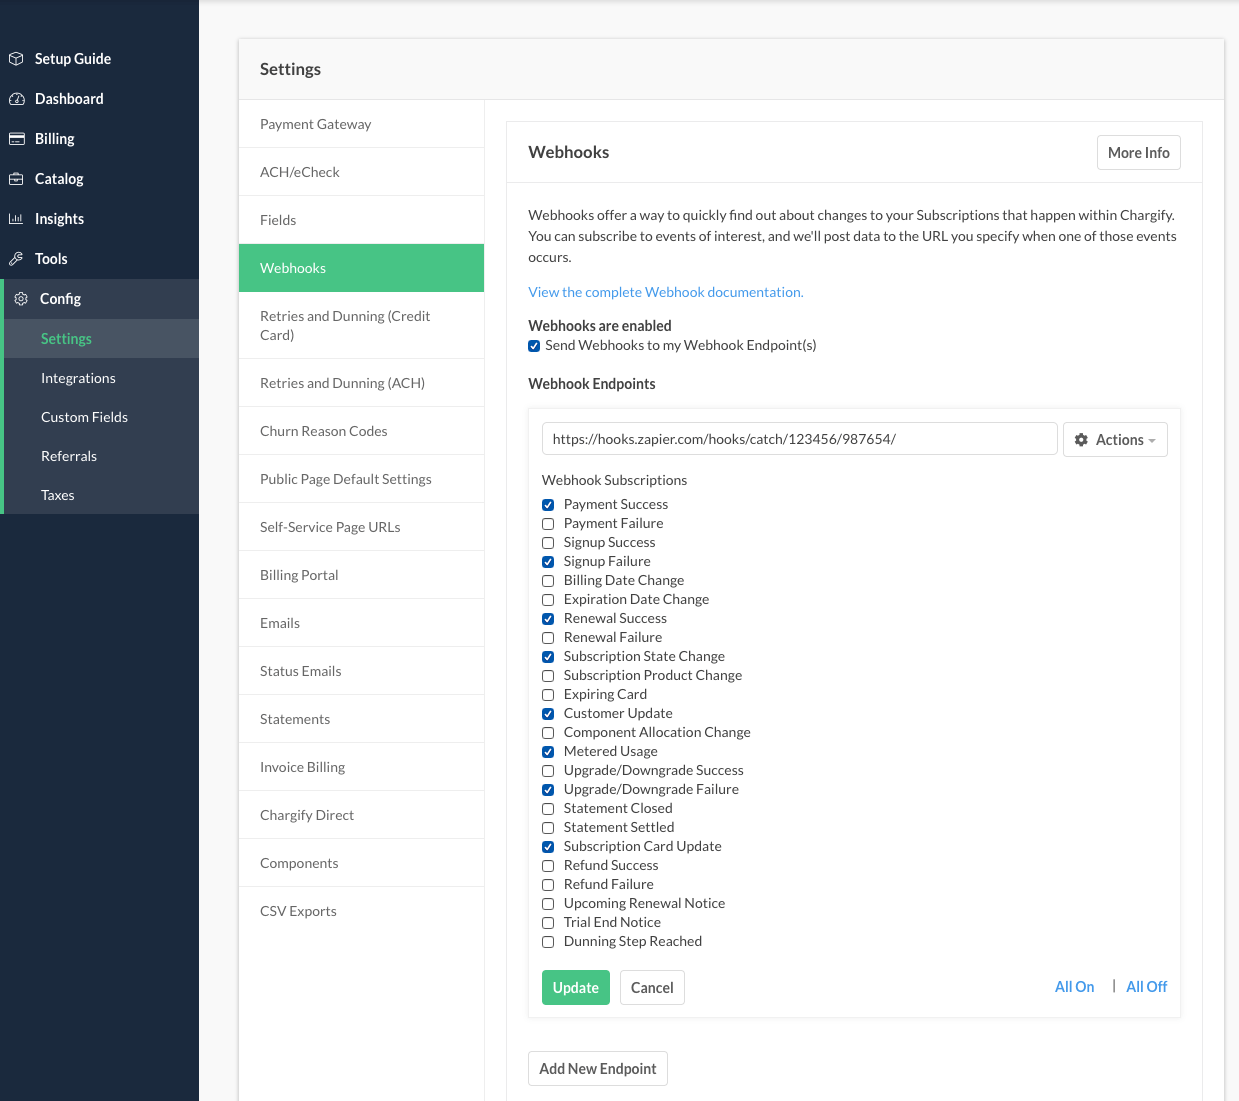
Advanced Billing Webhooks enable you to be alerted or trigger actions based on activities like a payment success, a subscription state change, and other events important to your business. You can subscribe to events of interest and Advanced Billing will automatically post data to the URL you specify when one of those events occurs.
How to Setup and Configure a Webhook
Navigate to the Webhooks section of the Settings tab and select the checkbox to enable the sending of webhooks. Enter the URL for the webhook endpoint to which you want data posted. Select the endpoints you want to subscribe to and save your selections.

Add webhook endpoints to your Advanced Billing site
Editing Webhooks
For any enabled webhook endpoint, you are able to take the following actions.
-
-
Edit: Edit the webhook endpoint UR and change which events you would like to deliver to the endpoint. If you are specifying a port number, note that only 80 and 443 are supported.
-
Remove: Remove the webhook endpoint.
-
Test: If you’ve added a new webhook, or would like to retest a webhook that was unavailable for a span of time, you can test the webhook endpoint’s validity. Testing the webhook endpoint sends a test payload to the endpoint.
- If successful, the webhook will be highlighted green.
- If unsuccessful, the webhook will be highlighted red.
Note that Advanced Billing allows HTTP endpoints only while in test mode. You'll be required to switch to HTTPS before you can move to live mode.
-

Select which events you'd like to deliver to your endpoints
Webhook Documentation
Please check out our full documentation on webhooks: